Monday, August 13, 2012

Fishtail Braid Pullback


Today we went for an easy, breezy, summery do'. Something that would show off the length of her hair, and, invariably take less than five minutes yet still look pretty. 

Voila! the fishtail braid manifested itself in this cuter, girly-er version of a regular pullback of hair. 

And that's all I have to say about that! 
No, really, I have to go do some actual work... (gross, I know). 


Tuesday, August 7, 2012

Polly Anna Knot Tutorial: Back to Basics Blogging Week


Above: the Polly Anna knot in action! Today I secured the ends of two french braids in a Polly Anna knot, then clipped it all together with a decorative ribbon barrette (available at Gymboree in various colors) . To finish it off, we gathered all remaining hair into a pony tail and then created a "flip through" at the base of the pony tail for a little extra pizazz!


I LOVE the Polly Anna Knot! It is one of the easiest things to do with medium to long hair, and yet, looks so pretty! I embellish all sorts of hairstyles with it, and you can get creative and make multiple polly anna's on the crown of the head, or in parts of pony tails, or even french polly anna knot! the possibilities are endless... But for now, here's how to do the basic, honest-to-goodness polly anna knot. It will appear in many future hairstyles, so be sure to watch this tutorial as I won't be showing how to achieve this sleek little decorative knot of lovely tresses every time I use it in tutorials. It's functional, quick, elegant– even...What's not to like?

Yes, as you can probably tell, I'm in love with a hairstyle.

It's...it's...it's just so... well, you'll see for yourself! Try it out, and let us know how it worked for you!

Happy Hairstyling ;)

Sunday, August 5, 2012

Stylin' Sunday: July 30th to August 5th


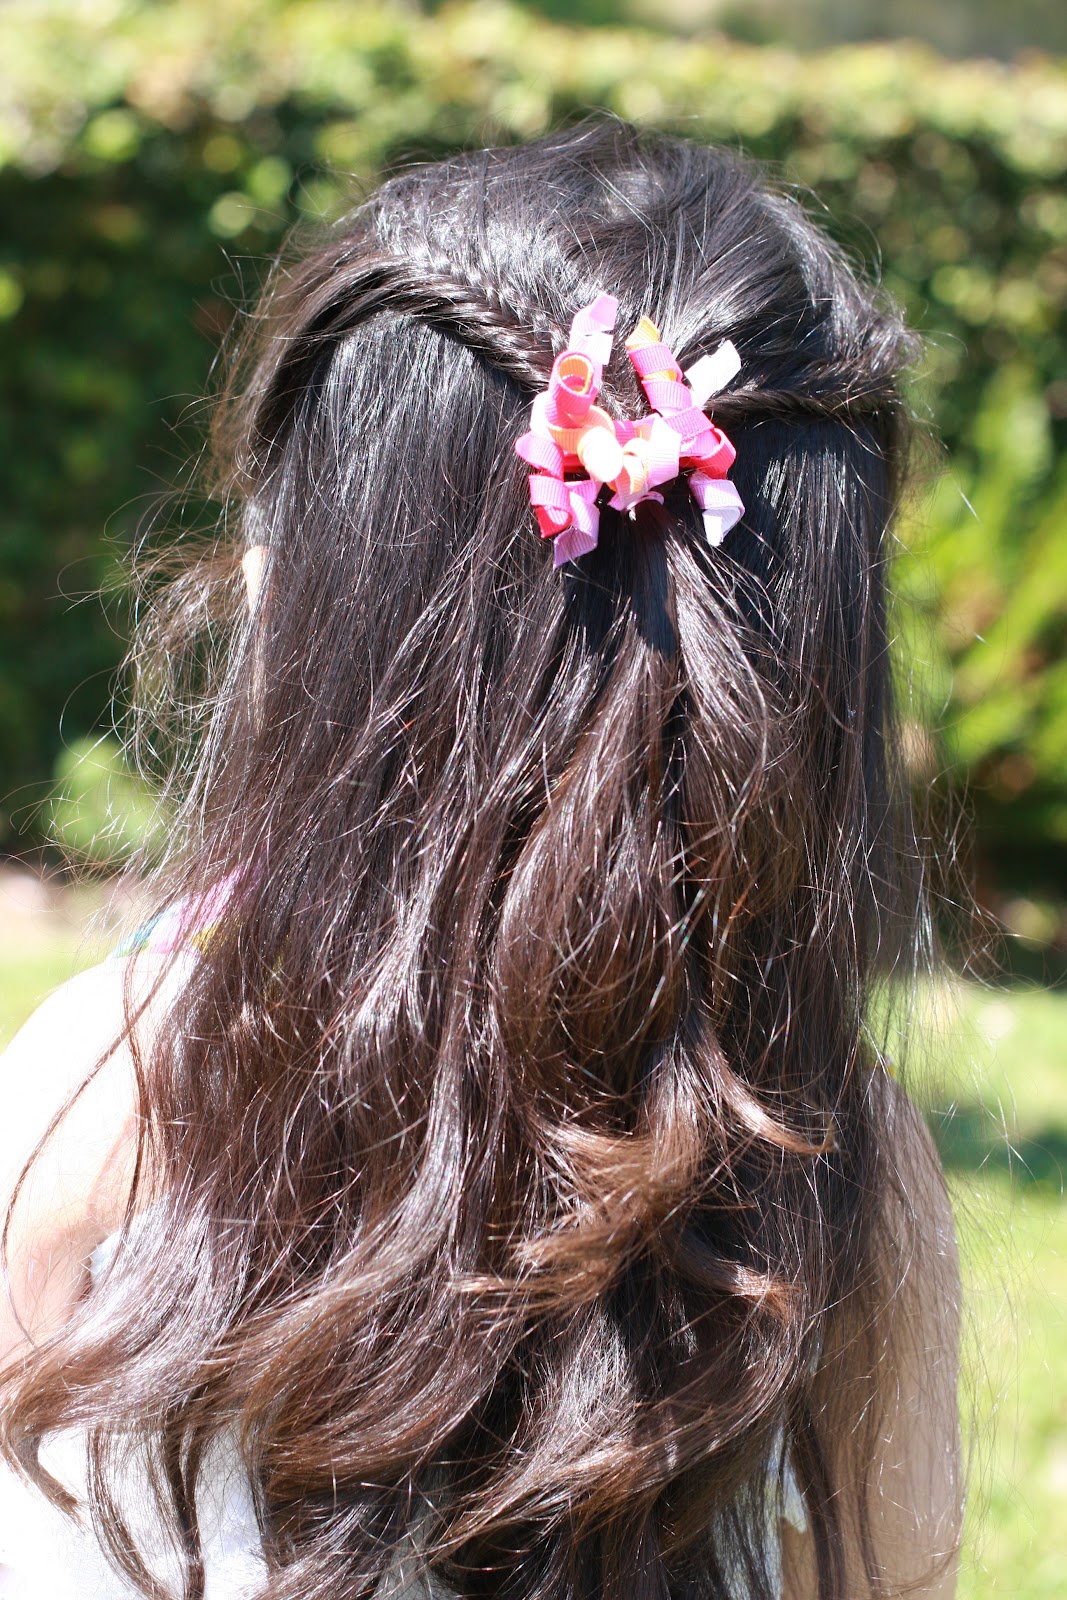
 This one actually has another braid like the one pictured on the other side of miss Diya's head, but it isn't in the shots! sorry!

This is from Thursday, we were just hanging around the house, and preparing for a family birthday. It's quick, low key, but so cute!


 After a Mad Men marathon last night, I guess some of that pouffy, pretty, big sixties hair transferred into Diya's do' this morning! That combined with the gorgeous wavy texture from yesterday's elephant ear braids motivated me to find a style that would show off her long, wavinesses! Also, she has a deep side part to add to the old glamour ;)


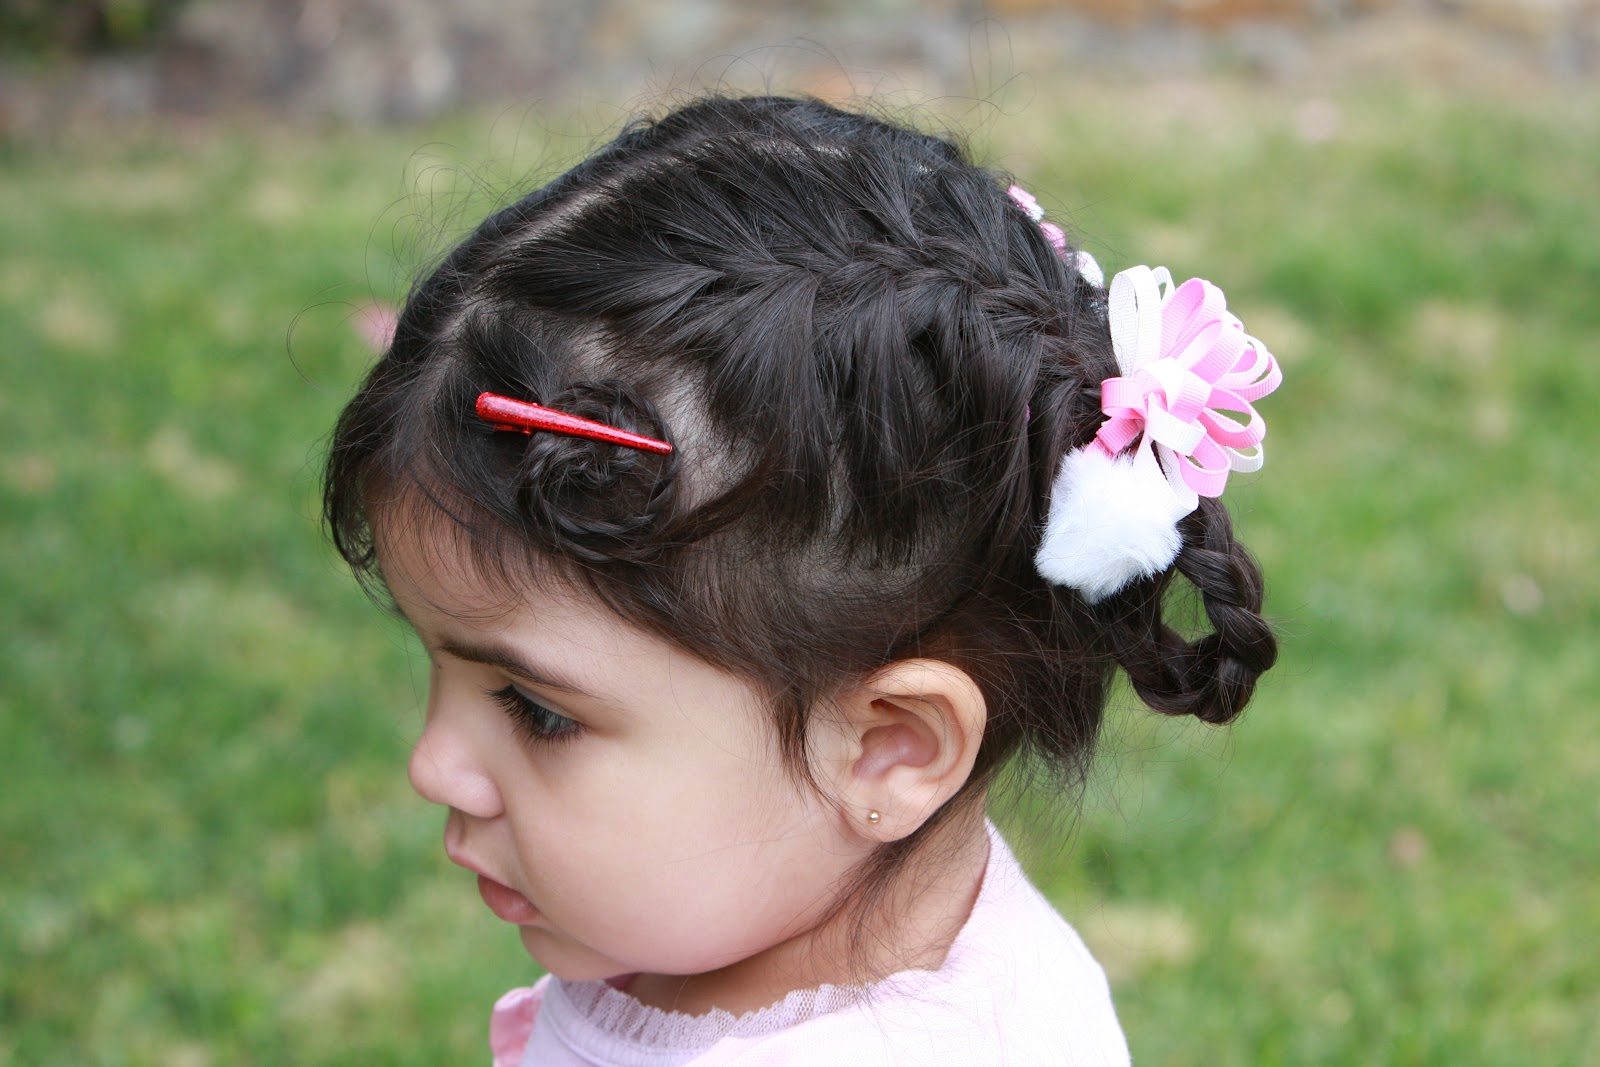
But, then again, sometimes even the cutest styles end up not being the most practical... With some of our relatives visiting, miss Diya ended up playing some rough housing games, and the hair was getting in the way. Never fear! I quickly added a Polly Anna knot to the bottom of her pouf to secure it, and then twisted the loose hair into a rope braid. This enabled me to keep the pouf (if more subdued than before :( ... ) and the side part, just with a more mobile style!


Here's the final product! Sorry about picture quality, just wanted to give you a basic idea of the new do'! 
By the way, the Polly Anna Knot (one of our all time favorites- it can be added to almost any up or down do', plus it's super quick once you get the hang of it!) will be getting it's own tutorial next week, as part of "Back to Basics Blogging Week"! Keep your eye out for french braids, rope braids, parting, and more!! ;) 

Saturday, August 4, 2012

Stylish Saturday: "Elephant Ear Braids"


 Today when I asked miss Diya what kind of hair style she had in mind (expecting "up-do or "down-do" to be the answer) she replied "elephant hair"! Well, I have never made an animal themed hairstyle, so I had to think fast! What we ended up with was two braided "elephant ears", achieved by using the tuck-under french braid technique (hiding the ended of the french braid under the braided pieces of hair touching the actual head). we finished up by securing the loop together with some cute pom-pom-pink-ribbon hair bands, to match her outfit :) But wait! There was a small strand of hair left over at the front of her head, and I had already finished the braids... we made a mini rope braid and clipped it up in a mini spiral. I thought it looked so so sweet.
Adorable! Don't believe me? check out the pics below and see for yourself!


Want a tutorial? leave a comment below, and next thursday you just might be  in luck!

And remember to check back every weekend for "Stylish Saturdays" where we showcase one hairstyle from the week, and "Stylin' Sundays" where we post pics from all the hairstyles that week to inspire you and your next weeks do's, as well as give you ideas for tutorials to request, and sometimes previews for next Thursday's tutorial! ;)


Friday, August 3, 2012

Hairstyle Sneak Peek :)


Preview! Yay! Check out some of these cool hairstyles and screen shots from tutorials that are yet to be posted!

Check back every Thursday for a new hair how-to on "New Do' Thursdays"!


Diya’s Lattice Hair Veil Tutorial


Today we made a picture tutorial for a hair veil! This is one of the prettiest and easiest hairstyles out there- one of our personal favorites! It is beautiful as a down do, but if you wanted to turn it into an up-do, you could easily just start the banded sections up a little higher, and leave off a little sooner, then work the rest of the hair into a simple bun. 
This look can be worn as fun or fancy depending on the color of your hair ties, and your outfit! Here we wore it as a casual look (we were just heading to the airport to pick up some family).
The possibilities are endless! And no prior hairstyling knowledge is necessary- this is the perfect style to start branching out with you hair styling abilities, no braids, twists, or anything except little ponytails, really :)

1. 

Divide the hair into three sections, two on the sides of the head (one on each side), and one in the back.


2. 


Make a small ponytail out of each of the sections- you will be dividing these in two in a minute, so make sure you have enough hair for that
3. 


Divide the left-most section into halves, then divide the middle section into halves. The two halves that are closest should now be combined to make another small ponytail. Do the same with the right side.


4.  


Now take a small section from the side (that isn’t part of any pony tail), and prepare to combine it with the half of your left most or right most pony tail that wasn’t combined with the middle section.


5.                                    


Now your hair should be connected to the side like this. Repeat step 4 on the other side.


6.                                     


Continue down the length of hair until you have reached what ever length you desire! Keep separeating the halves and combining them with another half, or a piece of hair from the side. You should achieve a beautiful lattice-work veil of hair!


                                                   Good luck, and enjoy your beautiful hair!